
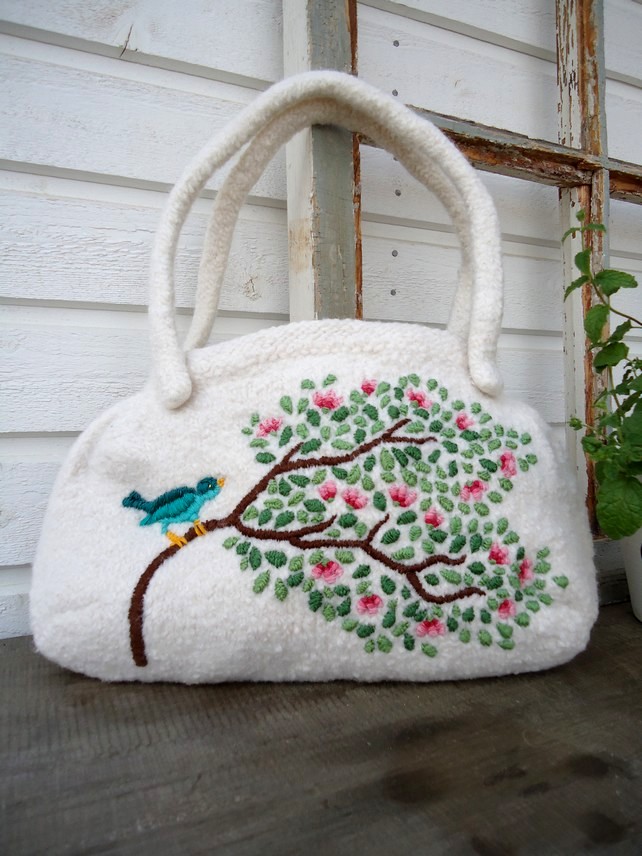
Without further ado, let me present my very simple knitting pattern for a knitted felted hand bag plus embroidery instructions.
Yarn: Viking Naturgarn (50g = ~55m, 100% wool)
6 skeins
Bag:
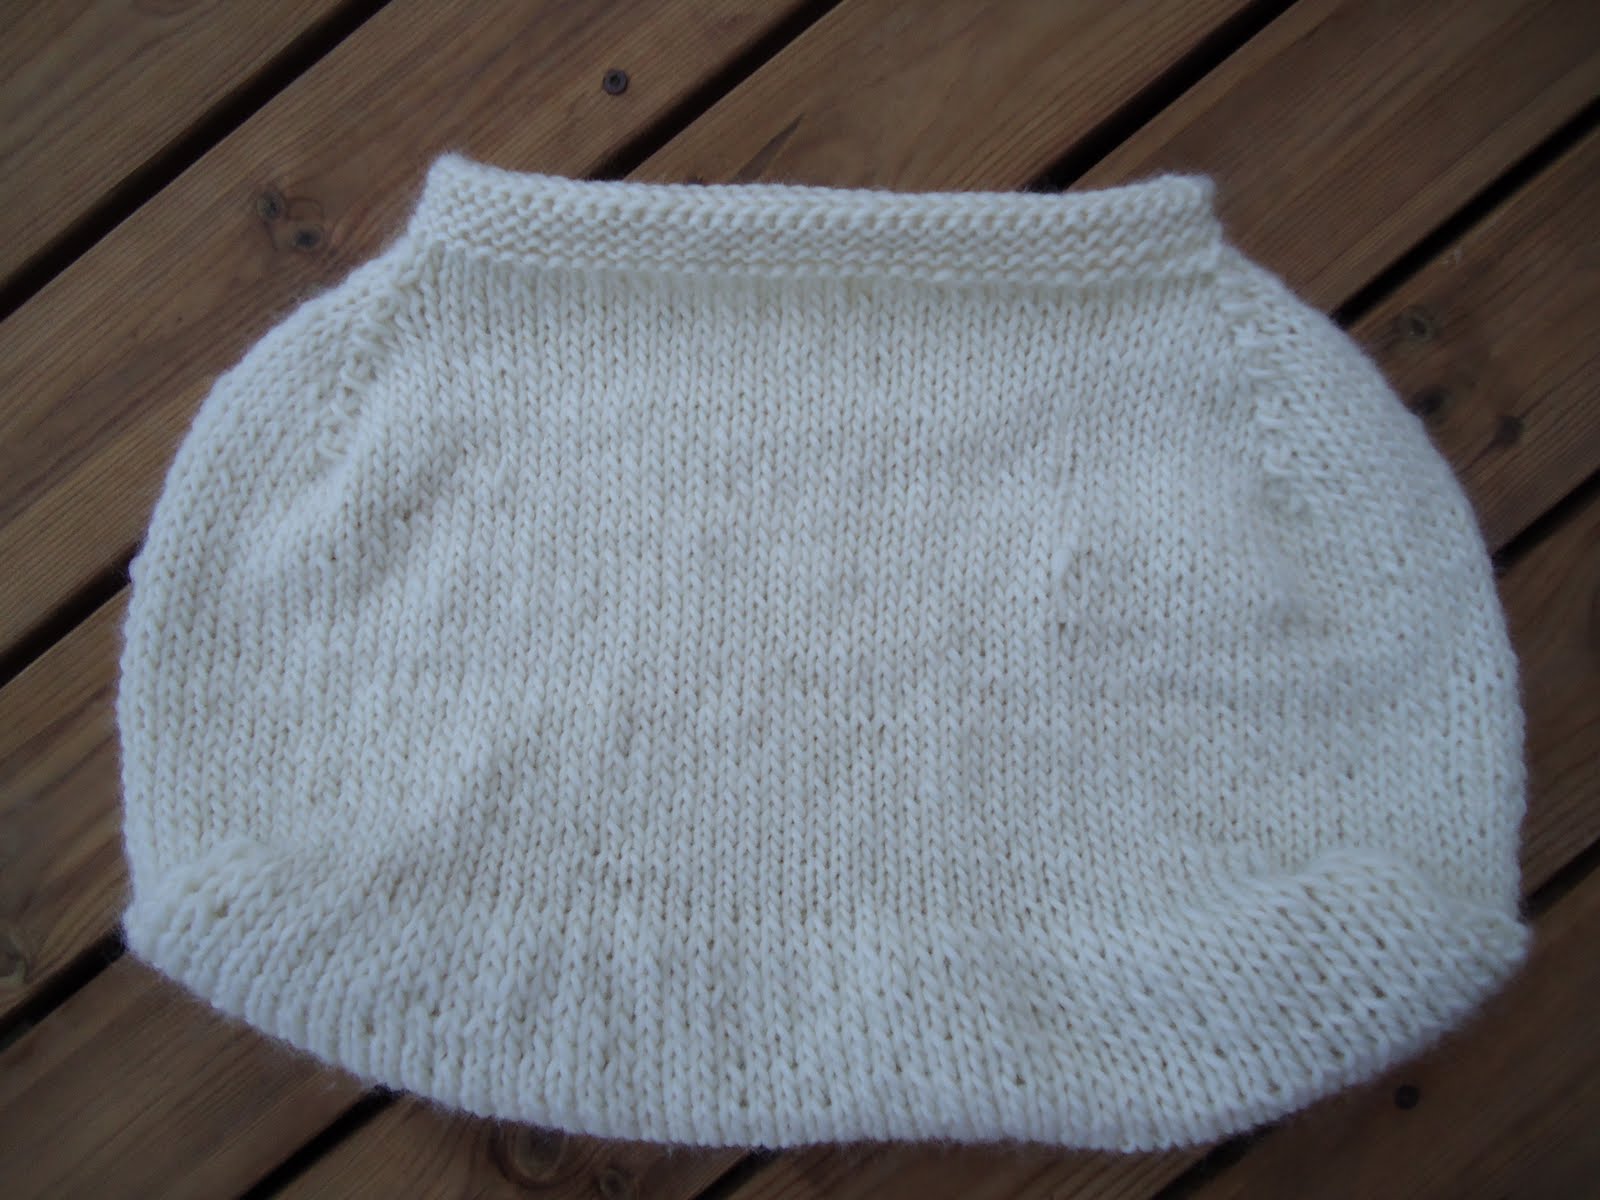 Cast on 50st on size 6mm 50cm cable needle. To create the bottom of the bag knit flat stockinette for about 20-25 rows. The last row worked flat should be the right side. Then pick up 12st from the short edge, 50st from the long edge and again 12st = 124st. Knit stockinette in the round from there on and begin decreases after about 20-30 cm. Place markers at the corners if you choose and SKP1 (Slip 1, knit 2 together, pass slip stitch over) at each of the four corners on every second row for 5 times = 84st. Knit garter stitch for 8 rows and cast off. Darn in the ends.
 Handles:
Cast on 6st on 6mm double pointed needles and knit i-cord: Knit the first row and instead of turning slide the stitches to the end of the needle. Bring the yarn from behind and knit to the end of the needle never turning, but sliding the stitches to the end of the needle after every knitted row. Knit for about 60cm, cast off and darn in the ends.
 Finishing:
Sow a plastic bag (see through, not coloured) on the inside of the bag with few loose stitches of cotton yarn so that the inside of the bag doesn't end up felting together. (I personally skipped this step and nothing dramatic happened, but I'd still recommend doing it just to be on the safe side.)
Toss the bag in the washer along with an old towel etc you don't mind getting hairs all over. Set washer for 40 degrees. Once the program is over shape the bag carefully by hand. Shape the bottom part into a neat square so that it "sits" nicely on a flat surface. TIPS: with a size or two bigger needles you get a looser knit that wont felt as tightly as this did and is less likely to end up this lumpy. For good tips on felting go to: Knitty.com
Embroidery:
For the embroidery you will need approximately 16 skeins of DMC Six strand embroidery cotton, 1 skein per colour unless mentioned other wise :
 898 Very Dark Coffee Brown (2 skeins)
3820 Dark Straw
3847 Dark Teal
3812 Very Dark Seagreen
958 Dark Seagreen
3831 Dark Raspberry
3833 Light Raspberry
3354 Light Dusty Rose
987 Dark Forest Green (3 skeins)
989 Forest Green (4 skeins)
 |
| Satin Stitch |
 |
| Fishbone stitch |
The leaves are in fish bone stitch. All stitches are made with all of the six strands of the thread.
1) Start with the branches. I free-handed the whole pattern (apart from the bird, that was the tricky part so had to pencil in the outlines to get started), but you can use this embroidery chart if you please. Click to enlarge and print the image. Then copy it to your felted bag and stitch away! Add the leaves later depending on how much foliage, if any, do you want.


 2) After the branches move on to the bird. In the detailed picture you can see the direction of the satin stitches.
3) Then move on to the flowers, starting with a bit of forest green, working up pedal by pedal starting with the darkest shade of raspberry at the bottom, then moving on to the lighter shades as you work your way up the pedals. Few stitches of the darker colors should be enough, the lighter color can be used a bit more, as the pedals narrow down towards their tips.

 4) Last but not least, add the fish bone leaves, as many as you please.
 5) Add a popper on the inside should you wish. Then shave off gently the excess fuzz from the surface with a razor, sow on the handles, add a seed bead to make the eye for the bird and you've got yourself a mighty fine bag!

absolutely gorgeous!
ReplyDeletelove it love it love it
ReplyDeleteCharming
fun
CarolK
Yes, you should be very proud of yourself. Great!!!
ReplyDeleteThis is such a lovely bag! I would buy this if I saw it in a shop, it's so well made. You put such beautiful details and colours into the pattern. I will have to try and make my own one day. Thank you for sharing :D
ReplyDeleteThis is a very neat and beautiful work of art! I am sure you should be proud of being the craftsman and the owner of such an exqusite piece of work.Loved the FO!!! Its worth all the effort put.
ReplyDeleteLove the feedback, thank you all, it's too much!
ReplyDeleteBut what on earth is FO? :D
WOW! That is for shure the prettiest handmade bag I have ever seen! Love it ♥
ReplyDeleteBTW, FO means Finished Object ;)
You learn something new every day :D
ReplyDeleteI love this bag - I may very well have to try and make one for myself. Thank you for sharing. Absolutely gorgeous!
ReplyDeleteEddie
Thank you so much for sharing! I am truly inspired and will have to make one for myself.
ReplyDeleteYou are very talented!
Looking through Ravelry, I stumbled across your bag which is lovely!
ReplyDeleteThe simple and clear instructions combined with the embroidery makes this beautiful!
Thank you for sharing your bag.
Love your embroidery, and birds, trees, and blossoms are right up my alley. Awesome creation!
ReplyDeleteI love the combination of felted knitting with the beautiful suface embroidery. Lovely!
ReplyDeleteThis is probably the most beautiful bag I have ever seen! You did a wonderful job!
ReplyDeleteOh, that is magnificent! You did a beautiful job. You deserve a celebration.
ReplyDeleteI just found this bag on Ravelry and have been enjoying looking through your blog and admiring all your beautiful designs! I feel inspired to try to make many of them myself. Kiitos for so generously sharing them with the world!
ReplyDeleteThanks for taking the time to make such a gorgeous pattern!
ReplyDeleteThis is absolutly gorgeous! I think i have to make this for my best friend, who loves birds and have a beautiful garden. She will adore this! Thank you for sharing your pattern! =)
ReplyDeleteShare photos on ravelry if you take on this project, would love to see if anyone has used the pattern what did they end up with :)
ReplyDeleteOh, my gosh! This is the cutest thing I've seen in ages! Too many projects in the chute to aim for Christmas, but I'm making this for ME asap! Thanks so much for sharing this. You are tres talented!
ReplyDeleteOh wow. Thanks Susan, glad you like the pattern! I'm quite fond of it myself and very happy to hear others like it too :)
ReplyDeleteIf you have any questions just shoot, I'll be happy to help!
Onpa hieno laukku, upeat kirjailut ! Kiitos paljon ohjeesta :)
ReplyDeleteKiitos ja eipä kestä :) Jos tulee kysyttävää ohjeesta niin jeesaan mielelläni :)
ReplyDeleteThat is AMAZING!!!!!
ReplyDeleteWhat a beautiful bag! All of your work was obviously worth the effort. Found you through Ravelry Free Patterns (Knit Only) on facebook.
ReplyDelete